Learn how to upload your topography files to RatedPower
Introduction
As you may know, getting to know the terrain shape of PV projects is crucial to deciding if a site is feasible for construction or not. In order to do such an analysis, we need the elevation data of our site. RatedPower gives two possibilities to do this:
- The first option is using Google Earth elevation data. The database used in this service is the SRTM-30, it has global coverage and a resolution of 30x30 meters.
- The second option is by uploading your own topography. As the resolution of Google Earth elevation may not be as accurate as necessary for this kind of analysis, this option will allow you to upload a more detailed dataset from other geographical services or from your own topographical surveys.
This information, regardless of the data source, will be used to represent your terrain with our slope map and to decide if your mounting structure complies with the restrictions of slopes and post length.
If your topography data is not an admitted format (.csv, .txt, .xyz), you can read the following articles to convert it:
Uploading your topography data
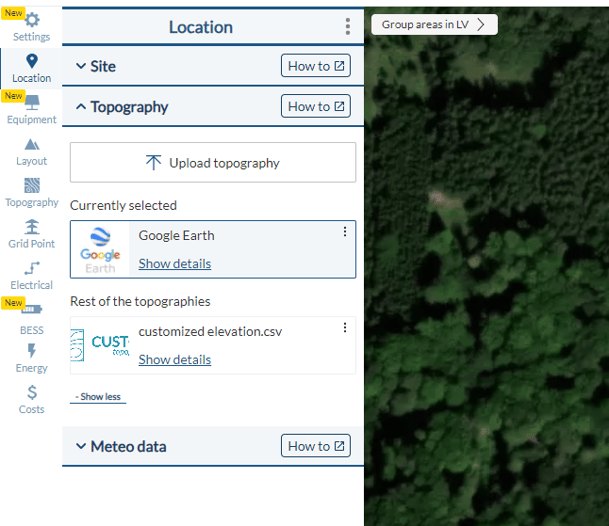
In this article, we are focusing on how to upload your topo files to our software. You'll find the topography section in the location tab in "Start Design". The option for Google Earth data will be always available and you can upload your own topography file by clicking on "Upload topography". Once your file is uploaded, your topography will appear and is available for all the new designs of that project.
The file has to comply with the following requirements:
- The admitted formats are plain text files (.csv, .txt, .xyz) with elevation data
- Each line corresponds to an elevation point (XYZ format), in UTM coordinates. The first column corresponds to the X coordinate (easting), the second to the Y coordinate (northing), and the third to the elevation value in meters.
- The file should not have any headers.
- The coordinates should belong to the same UTM zone as that of the project
- The data coverage area should roughly match the site area.
- The file should not exceed the maximum file size of 500 MB.

For any other questions or more information regarding this topic, you can contact us at: support@ratedpower.com